Installation guide
Here follows instructions on how to install OneStepCheckout in your store.
'''NB:''' These instructions are for OneStepCheckout version 3 and 4. If you for some reason want to install an older version, please follow the instructions [http://www.onestepcheckout.com/skin/frontend/default/onestepcheckout/media/onestepcheckout-installation-guide.pdf on this page].
Downloading OneStepCheckout
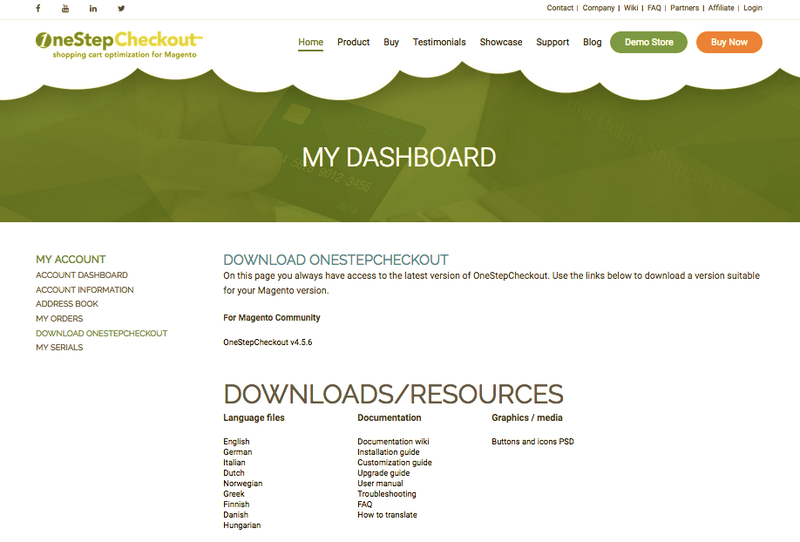
Please download the appropriate OneStepCheckout version for your Magento installation. You can download all OneStepCheckout editions from your download area after you logged into http://www.onestepcheckout.com
Unzipping and uploading
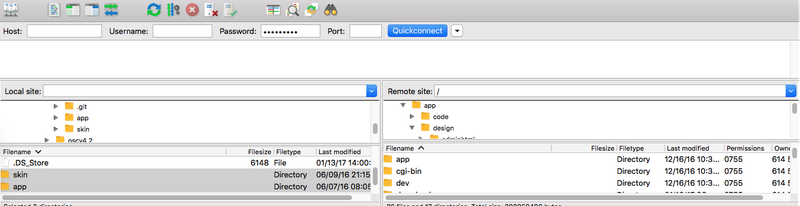
After you have downloaded the correct OneStepCheckout version for your store, please use a tool like Winrar, WinZip or similar to unzip the contents of the ZIP file you downloaded. Now check the extracted files, you should see two folders "app" and "skin" . In earlier versions of OneStepCheckout there was a "js" folder also. This is now moved to skin/frontend/base/default/onestepcheckout/js/ folder.
Then you are ready to upload your files. Open your favorite FTP/SFTP/SCP client and connect to the server with your Magento installation. Navigate to the root folder of the Magento installation, in other words the folder that contains folders like "app", "skin", "js", "lib" and more. Then, upload the extracted folders directly into the root of your Magento installation. Your FTP client will not overwrite any files, it will only upload the new files that come with the software.
Verify upload
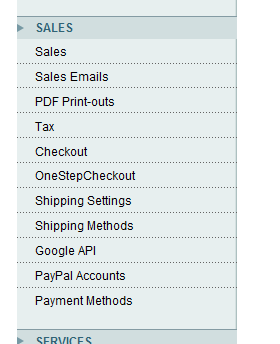
After you have uploaded the files, you need to login to your Magento administration panel and refresh your cache by going to System -> Cache management. Choose all items and click "Refresh", so the cache gets updated. Then, go to your System -> Configuration page and verify that you have a new option called "OneStepCheckout" under the "Sales" category. If you can see it there, OneStepCheckout has been installed correctly.
'''NB:''' If you get a "Access denied" message when clicking the OneStepCheckout link in the left menu, please see this page
Configure OneStepCheckout
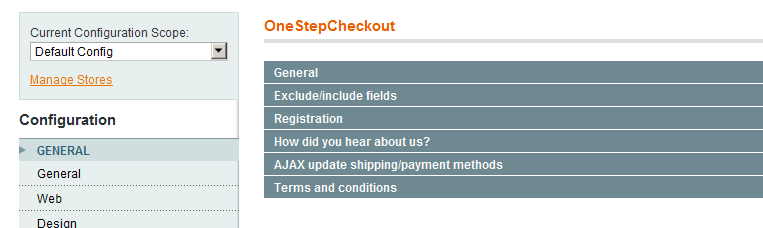
Now go to the settings page for OneStepCheckout (System -> Configuration -> OneStepCheckout). You will see many configuration options, but first you need to enter the serial you were provided when you purchased OneStepCheckout. The serial is unique for each domain name, so you will need to remember that. Also, if you are doing the installation in a testing / development (non-production) environment on a different domain, you will have to get a serial for that domain as well.
Go through the rest of the settings and configure them to fit your liking. Most customers simply turn on the "Enable different delivery address" and doesn't touch anything else, but the choice is your and you have a lot of options available.,
Test and activate OneStepCheckout
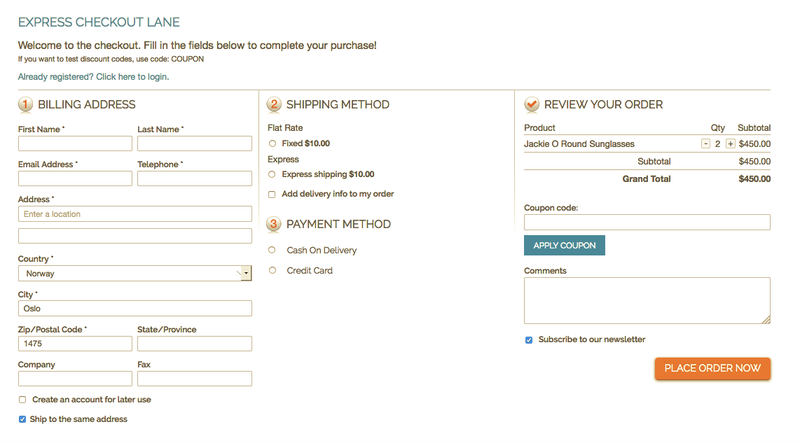
After you have configured the checkout, you need to make sure it is tested properly. Please open your Magento installation in a browser, add a product to your cart, and then navigate your browser to www.yourstore.com/onestepcheckout and see how it looks.
'''NB:''' You need to access OneStepCheckout in the same folder as your Magento store. Also, if you are not using Apache rewrites, you need to include "index.php" part of the URL. Also, if your Magento store uses HTTPS, you '''must access OneStepCheckout on HTTPS url'''. Here are some examples:
- http://www.yourdomain.com/index.php/onestepcheckout
- http://www.yourdomain.com/shop/onestepcheckout
- https://www.yourdomain.com/onestepcheckout
If the checkout looks good and everything seems to be working, please make a few test purchases with your different payment methods and options. You should make a test purchase for each of the active payment methods you have in your store.
When you have made a couple of test orders and are happy with the checkout - you can activate it so it becomes live for all your customers. You can do this by going to System -> Configuration -> OneStepCheckout. At the top there is a setting for '''Activate OneStepCheckout'''. Set this to yes, and the new checkout is now live in your store.